How To Install Webmin on Ubuntu 16,18,19
How to install and configuration Webmin on Ubuntu 16.04. For those of you who did not know, Webmin is a free control Panel for managing VPS. Webmin is a web-based interface which is used to manage VPS web hosting server. With the help of Webmin you can setup user account, Apache, DNS and file sharing and other actions. Webmin very suitable for beginners who do not know much about the Unix or Linux command line.
Step 1. First, you need to add the Webmin official repository and make sure that all packages are up to date.
sudo nano /etc/apt/sources.list
Moreover, add the following lines:
deb http://download.webmin.com/download/repository sarge contrib
Fetch and install the GPG key:
sudo wget http://www.webmin.com/jcameron-key.asc
sudo apt-key add jcameron-key.asc
Step 2. Installing Webmin.
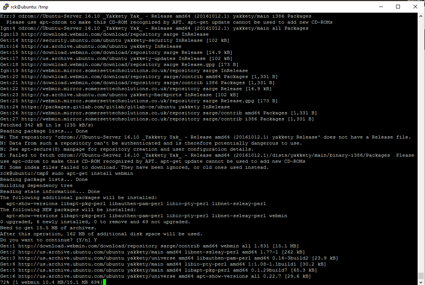
Install Webmin with the following command:
apt-get update
apt-get install webmin -y
Allow the Webmin default port via a firewall:
sudo ufw allow 10000
Step 3. Access Webmin.
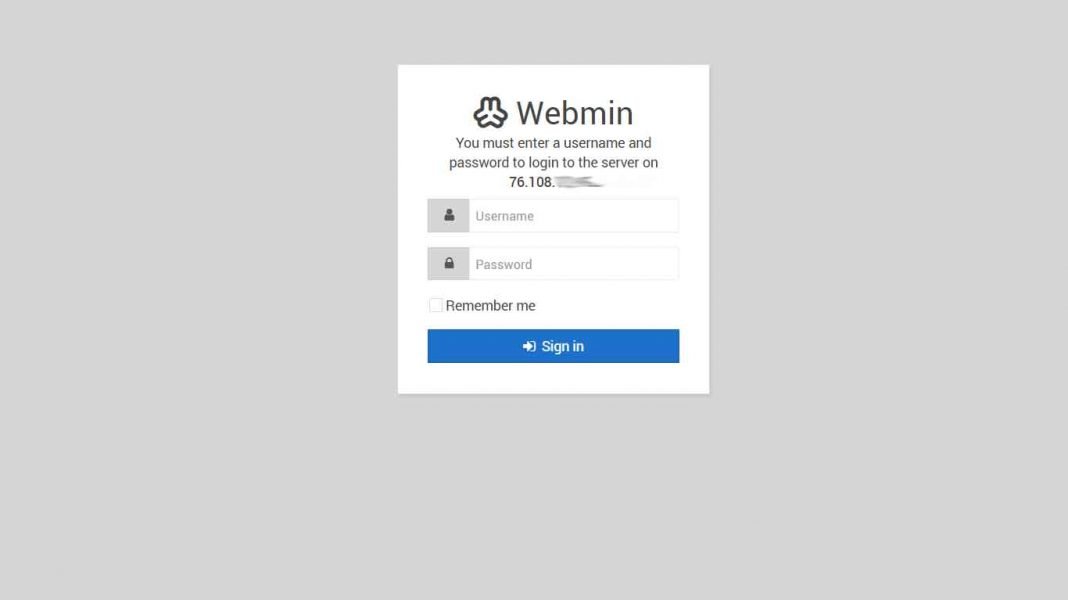
Finally, you can access the Webmin panel using our web browser. Webmin use 10000 as its default port. Type this into our URL address web browser. https://ip-address:10000 then login as super user or root access privileges. If you are using a firewall, please open port 80 and 10000 to enable access to the control panel.
How to change webmin port using terminal? Show


